
‘Bodging’ Something to do with wood?

We’ve covered looking after your battery and refurbishing the battery-tray that is hidden behind the rear bulkhead. We have also covered checking the terminals and changing the main fuse.
This month we are looking at changing your battery to one that is lighter and has a smaller case let me introduce the ‘The Odyssey PC680’.
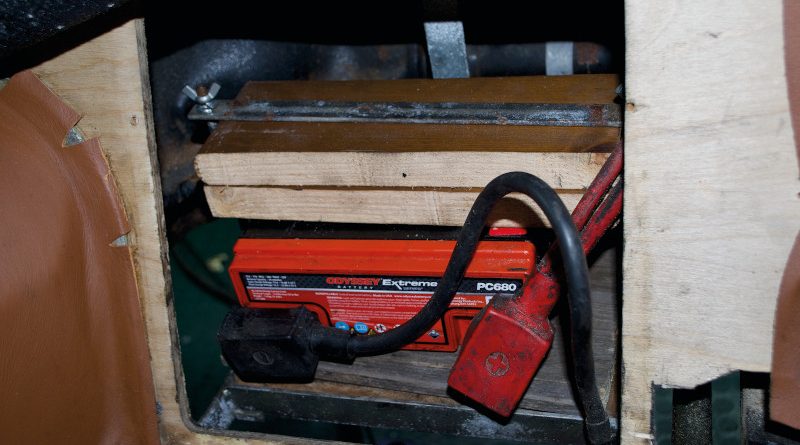
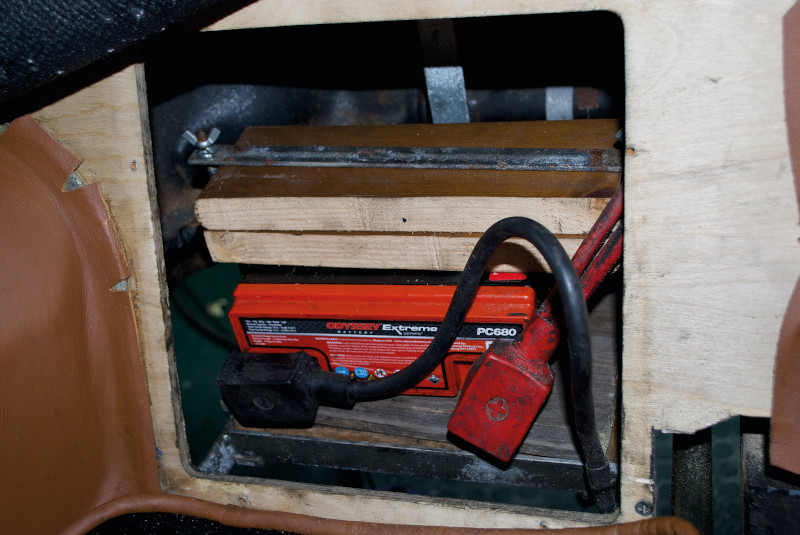
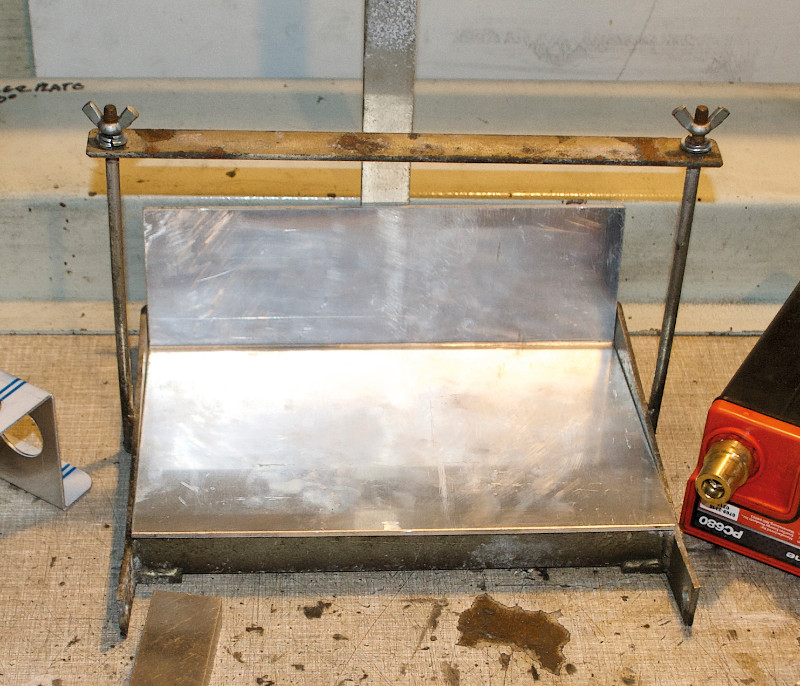
The battery pictured was found in a MOG, it was a bit of a shock to find; as it was not clamped down fully with the securing wing nuts. (More thread needed or more WOOD!) So it was moving around, an electrical-short waiting to happen on the bulkhead cover as; it was in the laid down position.
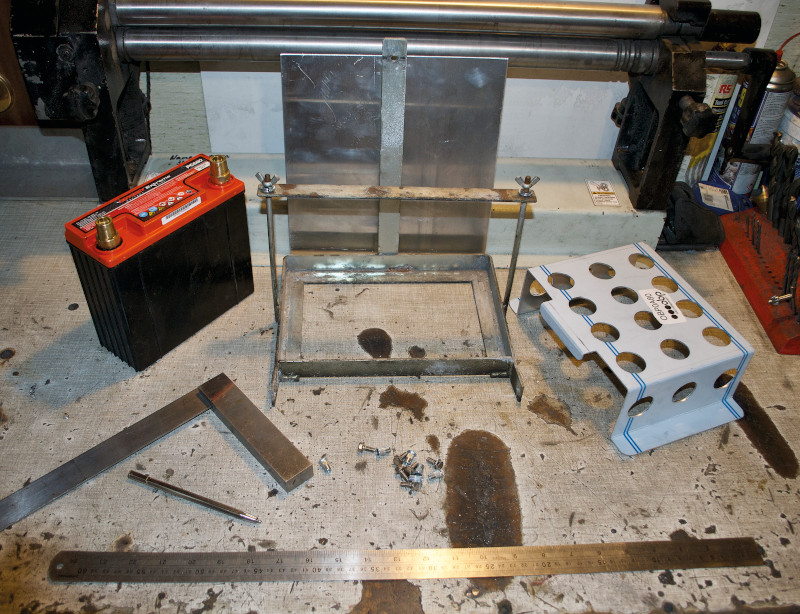
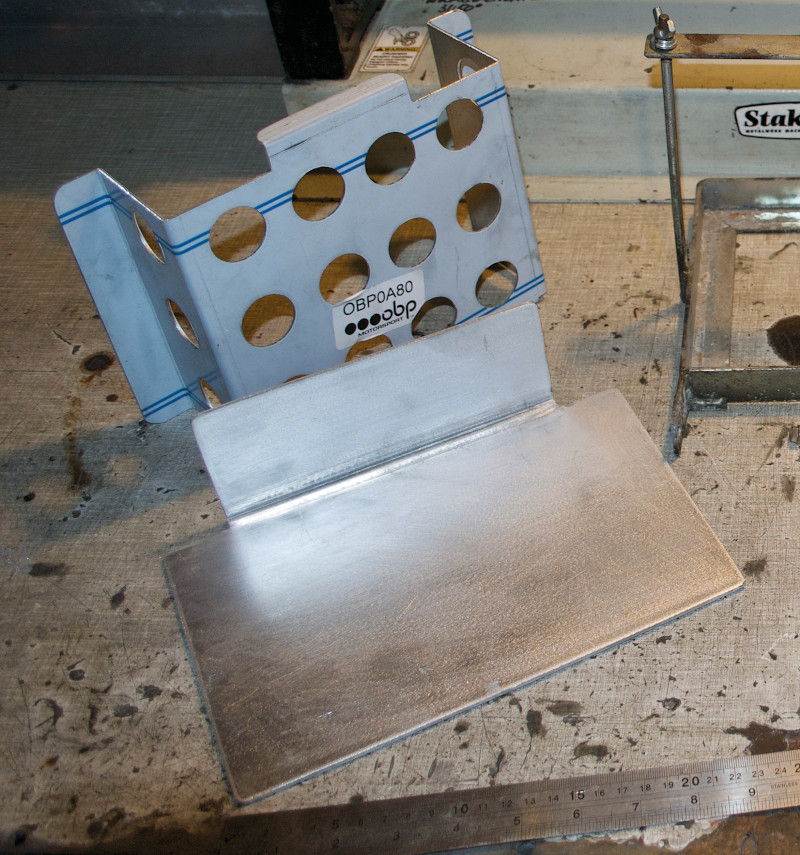
Step 1. When buying and specialist battery you can normally purchase a corresponding “battery mount”. This pre-made mount is typically around £30.00-36.00 and will make the adaption easier.
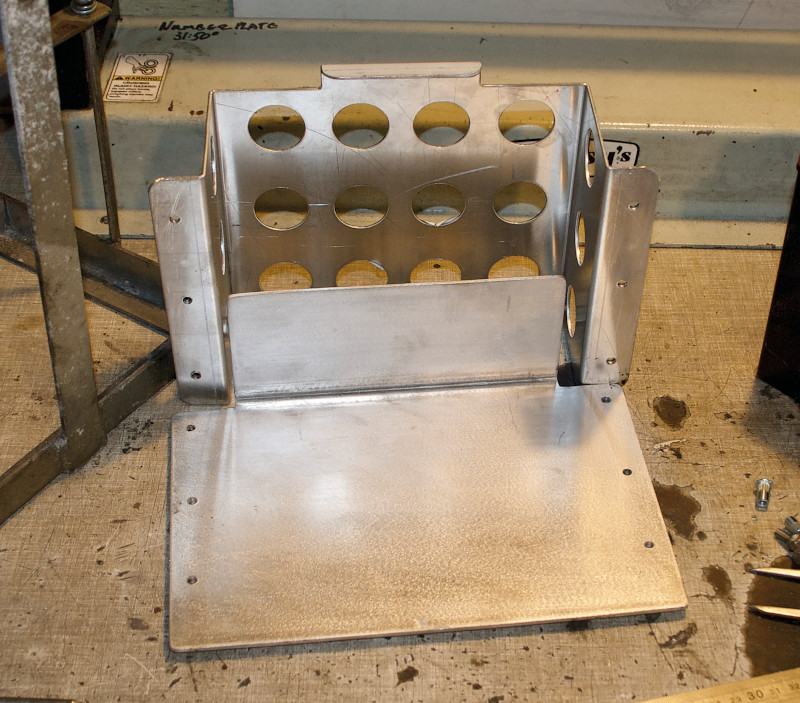
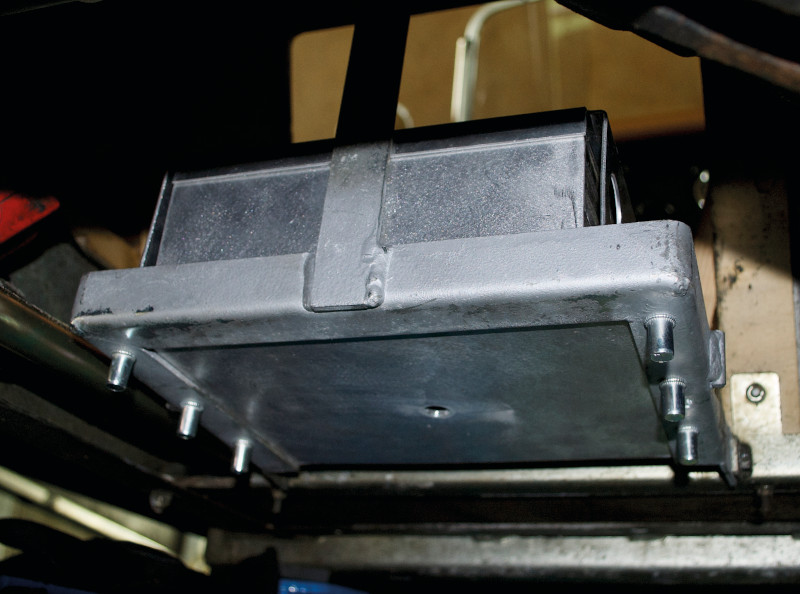
Step 2. Make a base plate with up-stand for your original battery-tray, we used a piece of 3mm aluminium sheet. To do this clamp the sheet on a table edge, then push the overhang down. You can also use another piece of metal (a dolly) and a hammer.
Step 3. We have trimmed the up-stand, so it is the same width as the new battery mount but is short of the front that is not made from angle. This will allow water to drain out from the battery tray.
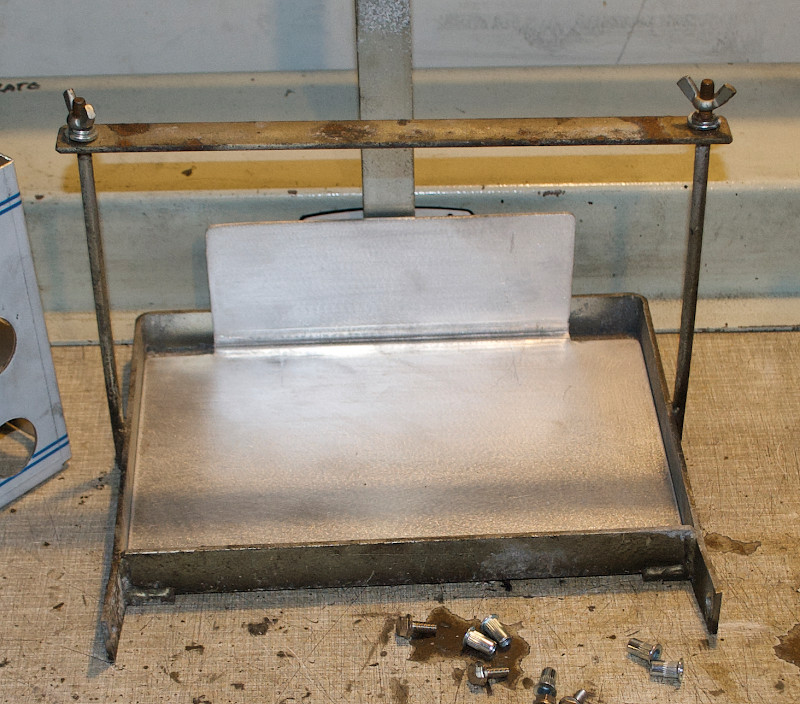
Step 4. Place the new base plate into the original mount.
Step 5. With the pre-made mount in place you need to mark out your fastening points
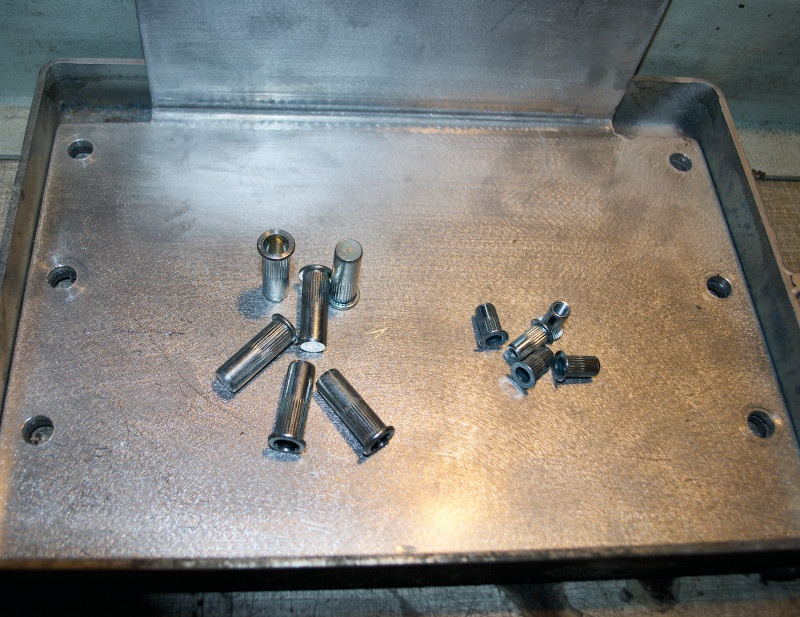
Step 6. Remove the pre-made mount and drill the holes, now mark across those hole locations to the base plate and drill them too.
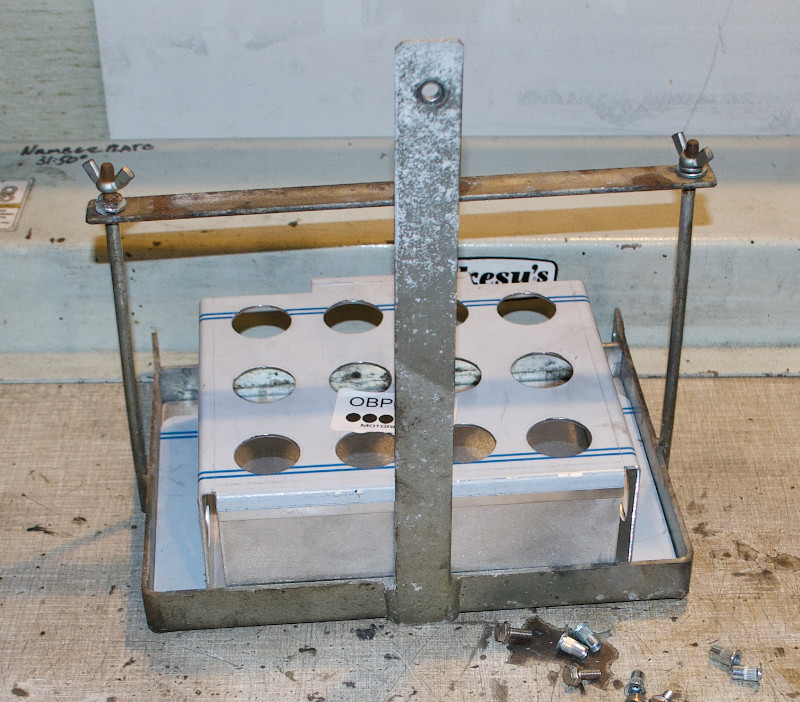
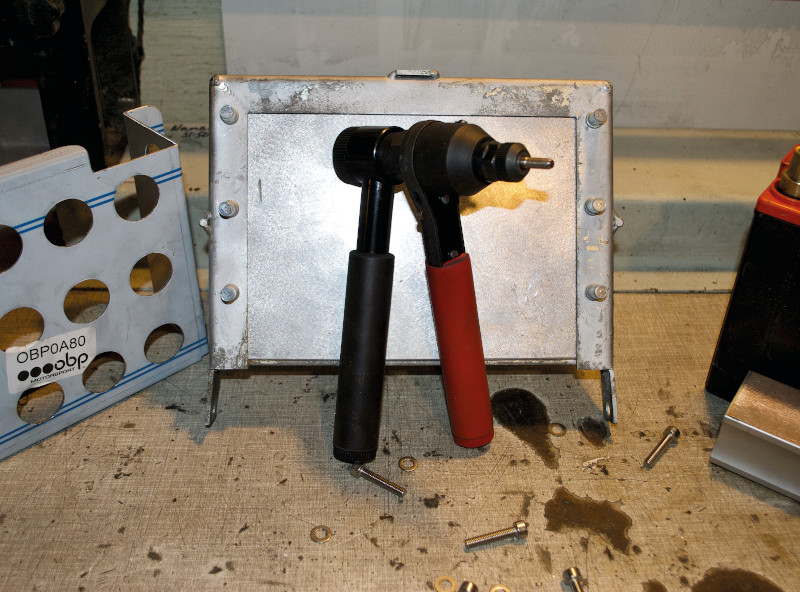
Step 7. We used Rivnuts (rivet-nuts) to secure the base plate onto the original battery mount. To use Rivnuts a specialist tool is required so to rivet them into place for a really good secure operation. If you do not have these then skip this step and just use nuts, bolts and washers.
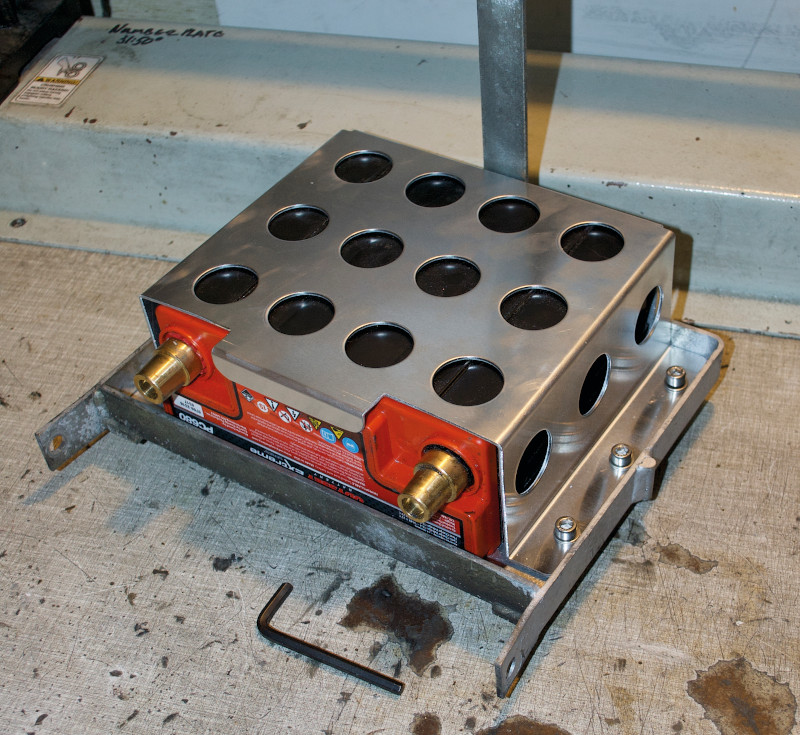
Step 8. Now place your battery into the new mount, ensuring the terminals are at the “top” so they do not rub on the metal case. You can now use your machine screws into the rivnuts to secure it all together.
If you skipped step 7, and are using the good old nuts, bolts and washers. Remember to use Nyloc nuts or other anti-vibration/locking washers to so the nuts from undoing. Always bolt from top down, if the nuts come of you will hopefully still have the bolts.
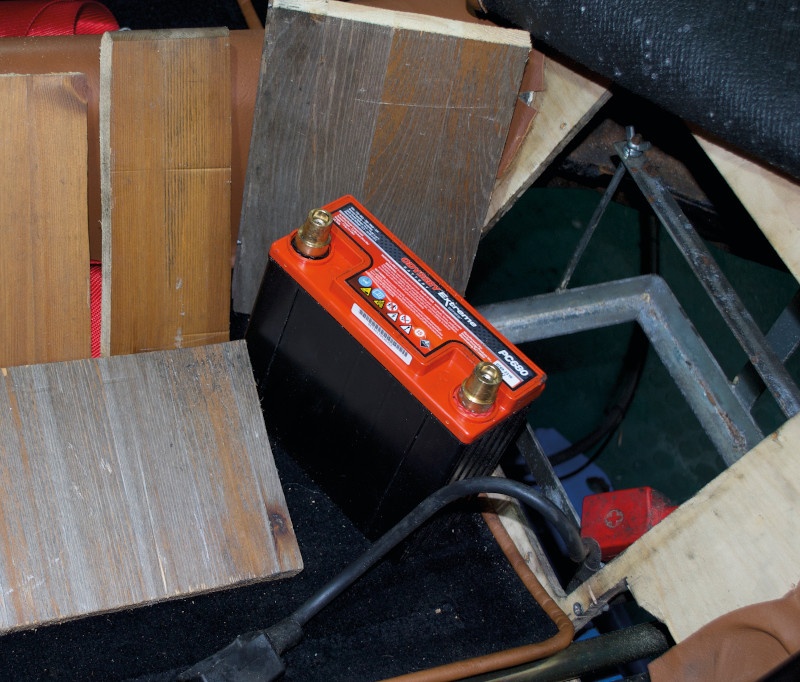
Step 9. Mount it all back into your Morgan.
Step 10. Remembering that the battery has been rotated to lift the terminals off the metal surround, connect the battery back up and check the electrics all work.
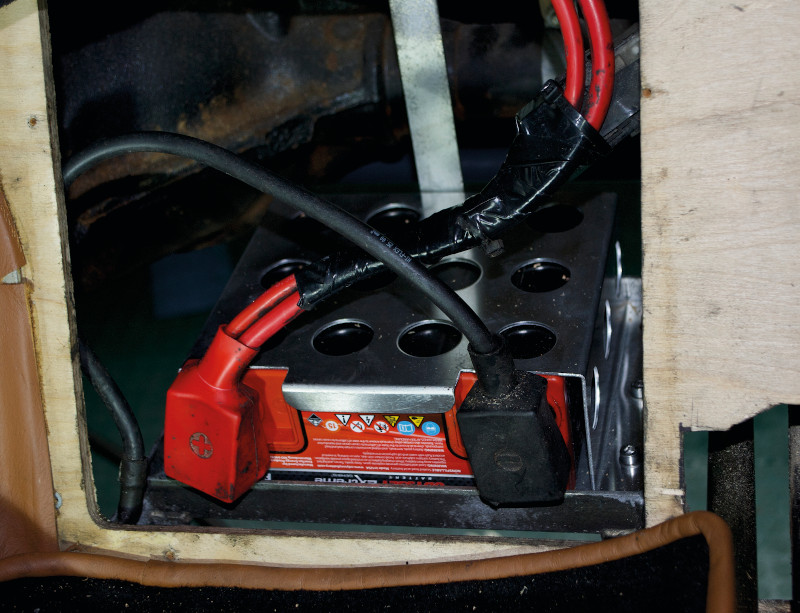
You now have a secure and neat battery mount, shame your work will not it will not be seen but it really is an Arc less De Triomphe!