
Part 2 – “Enclosed Hub with Wire Wheels”
To carry on from last month’s rumblings we are looking at cotter pins when used on an enclosed hub as used with wire wheels that are held on by the single central hexagon nut or “spinner”.
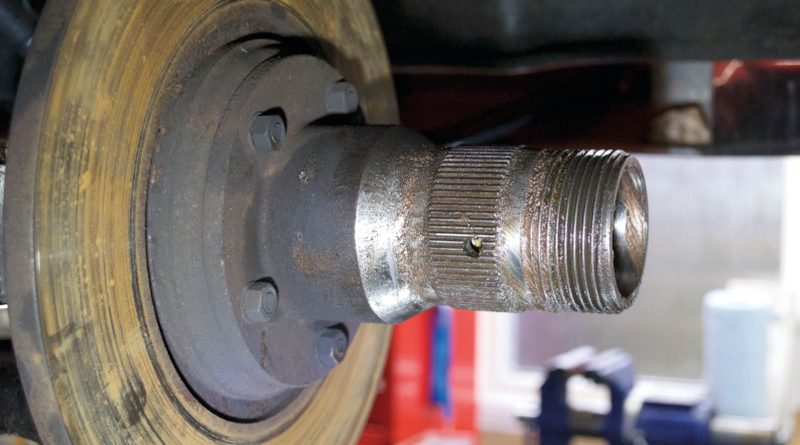
To access the castle nut you need to remove the wheel by undoing the central nut. As you can see in (Photo 1a) to be able to remove/install the cotter pin there are two opposing holes through the hub that line up with one of the two machined holes through the stub axle (shown in part 1).
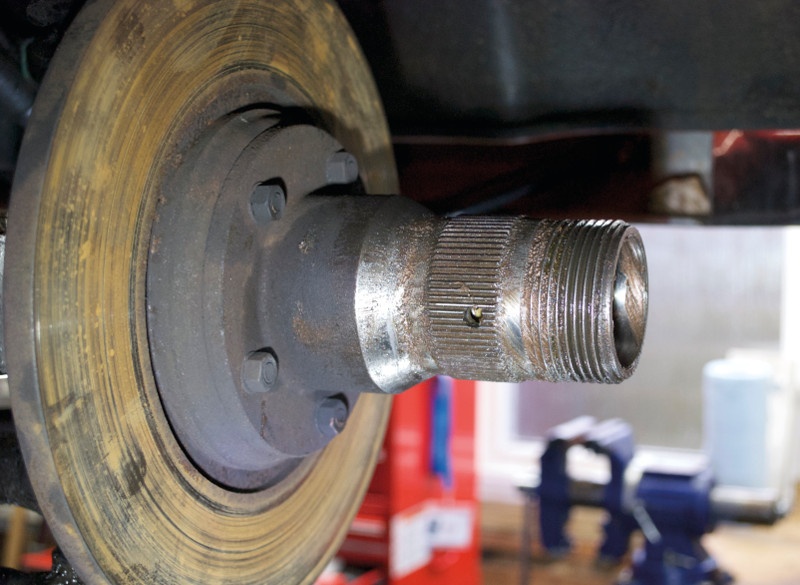
Photo-1a Enclosed hub for wire wheels 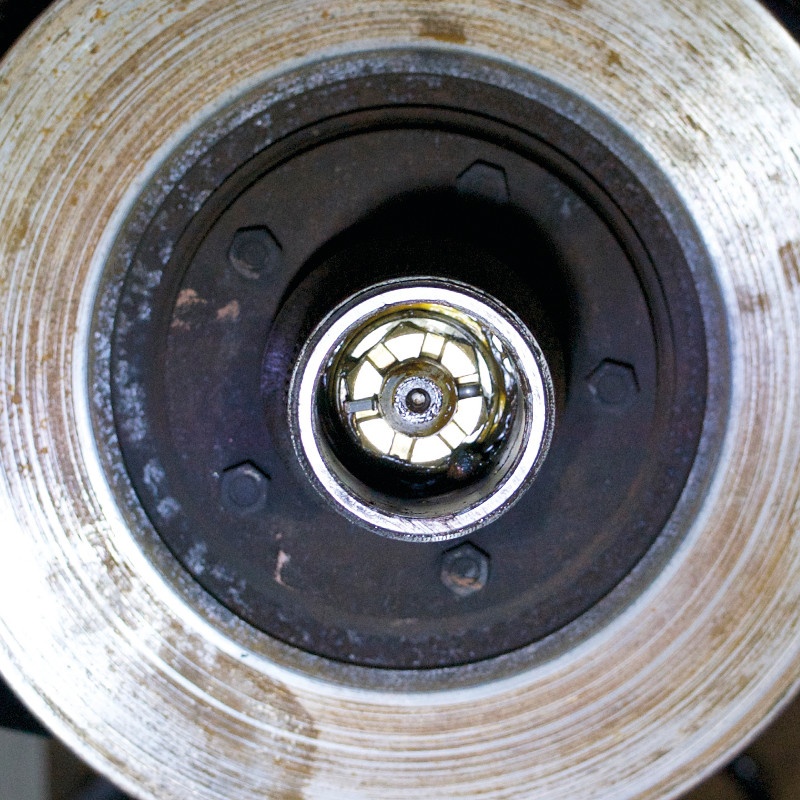
Photo 1b. Shows castle nut with cotter pin insitu
This allows the castle nuts to be rotated to the right or left to maintain the correct torque on the wheel bearings. This allows for small increments of movement between the castle nut openings and the stub-axle holes.
Due to the restricted space around the castle nut the cotter pin method to be used is the short method, as discussed last month.
Cotter Pin removal
To remove the cotter pin, first align the hub holes with the cotter pin. First you will need to push the legs together (photo 2a). this will allow you to push-out the pin using a hammer and pin punch (Photo 2b).
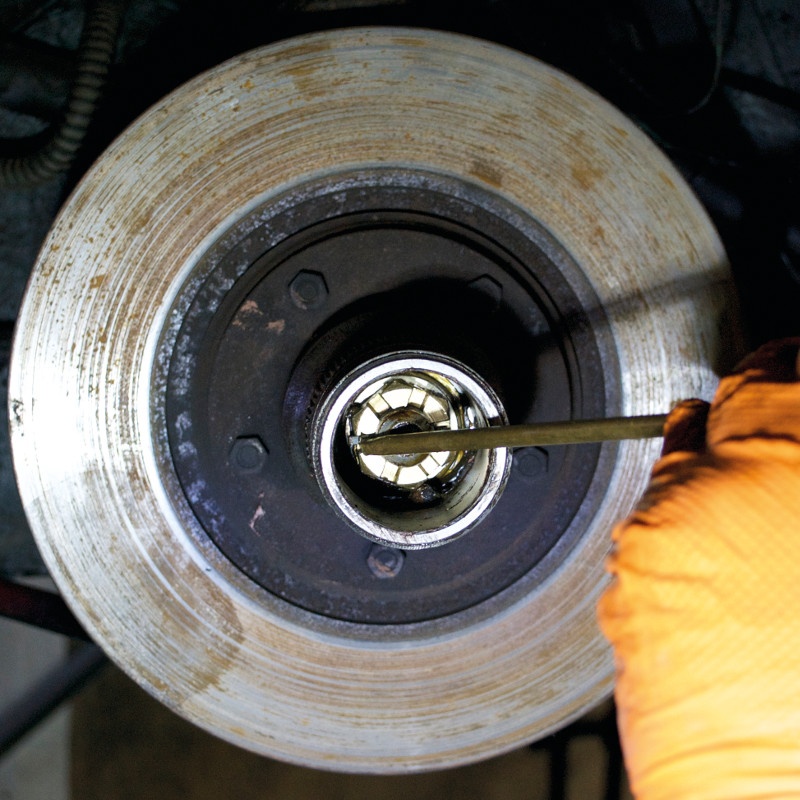
Photo 2a. Using a push tool close the legs of the cotter pin 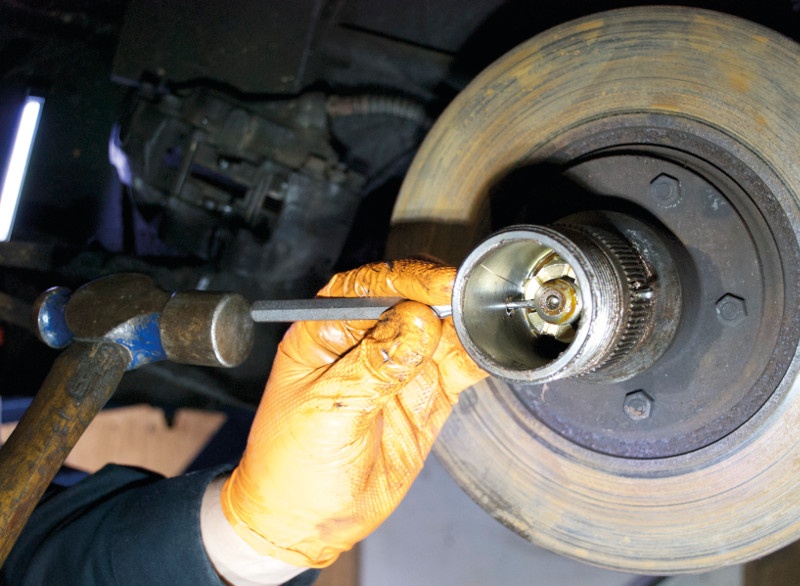
Photo 2b. Tap the Cotter pin out using a pin punch 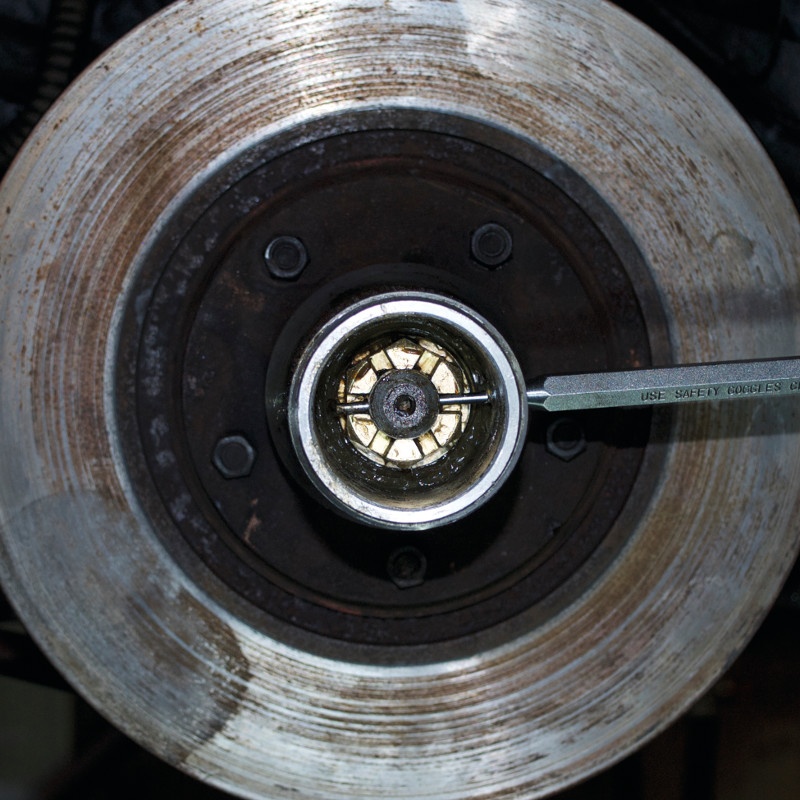
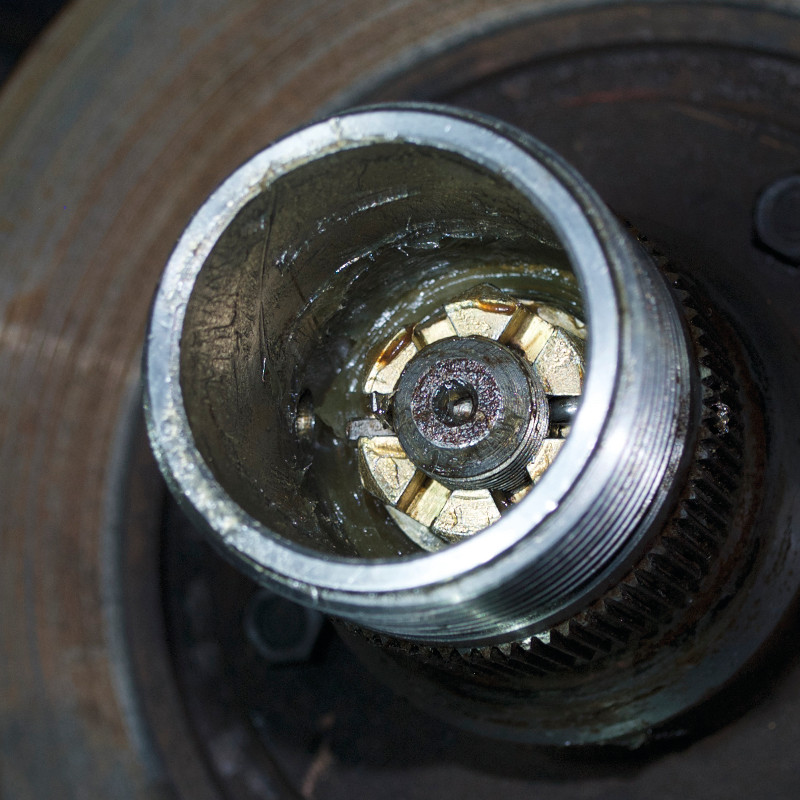
Photo 3a. After torquing the bearings locate the Cotter pin hole 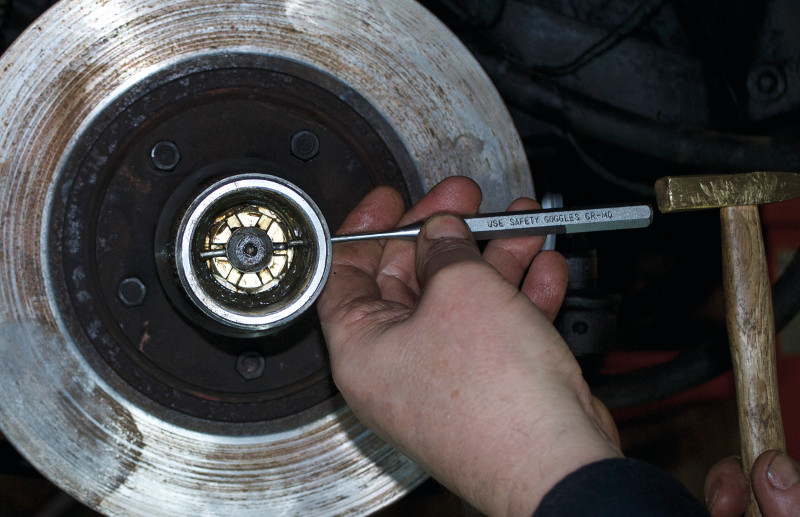
Photo 3b. Tap the new cotter pin into place
Installation of Cotter Pins
Caution: COTTER PINS SHOULD ONLY BE USED ONCE!
When choosing the correctly sized cotter pin you need to ensure a good fit for hole diameter and trim the back leg so that is finishes just past the castle nut (Photo 5) remember the front leg should be longer as it lays against the thread on the axle (Photo 5)
After trimming to length, it is very important to debur the cut edges, to do this use a fine file then emery cloth or sponge and then rinse with Brake Cleaner to remove the debris
Refit the cotter pin by tapping back through the castle nut and stub-axle’s proffered machined hole.
Using a hook tool, pull the long leg towards you (Photo 4a) then using a push tool forward and tapped down to the stub-axle (Photo 4b).
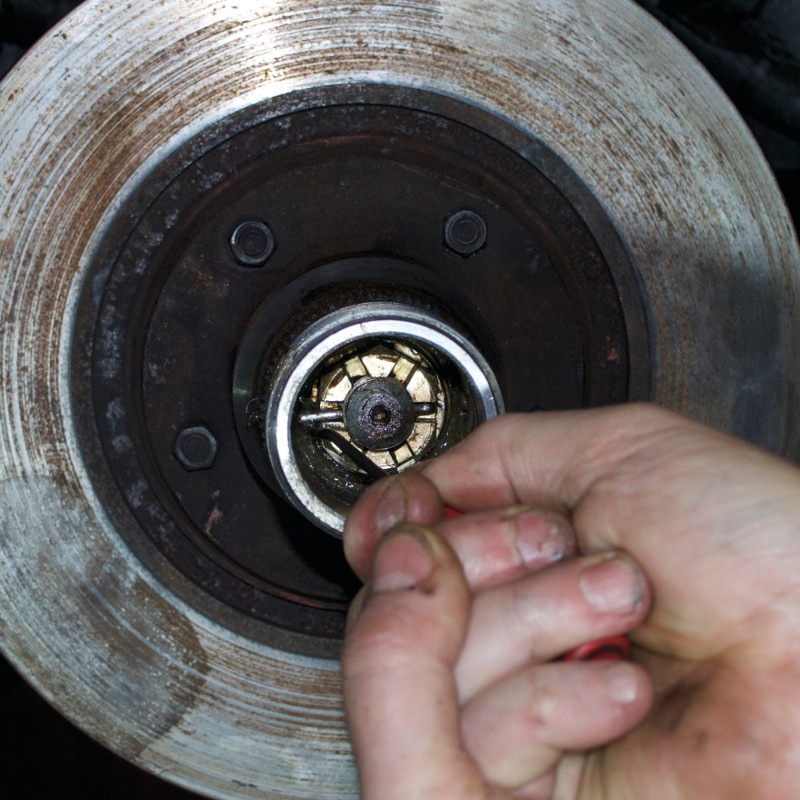
Photo 4a. Using a hook tool pull (split) the top leg towards you 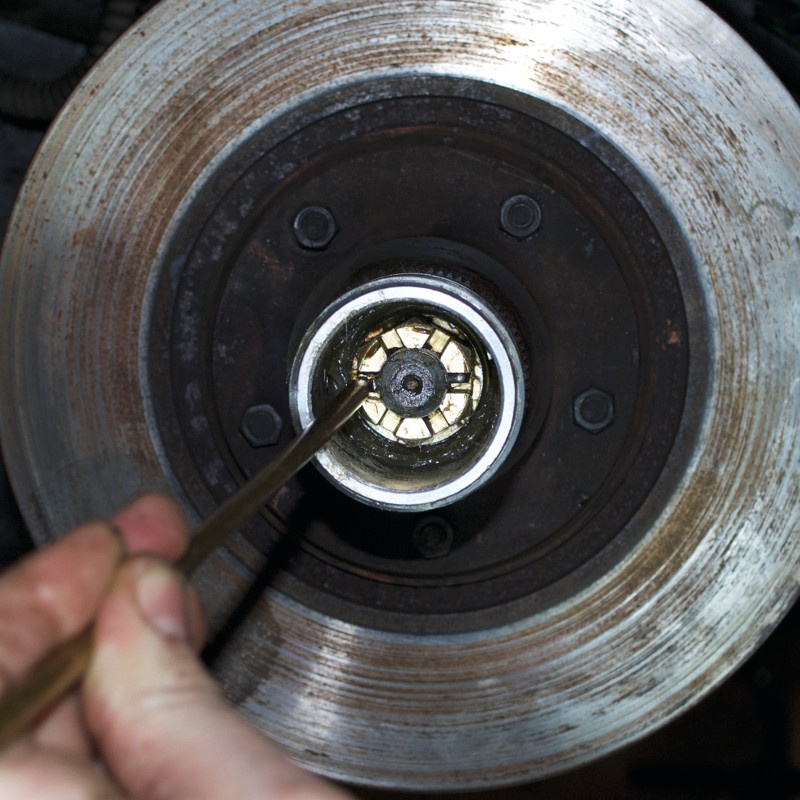
Photo 4b. Using a push tool ensure that the leg is flush against the thread